My Web Maintenance

CMS

How to Choose the Best Web Hosting for Small Business

How to Choose the Best Web Hosting for Small Businesses

If you’re running a small business or planning on starting one, you may already realize that having a good web host is essential. Choosing the right web host can be tricky, though.

Online shopping continues to overgrow. Retail stores are now almost even with online sales, which increased by 10.4%.

As a business, you can make lots of cash by offering products and services online, but there’s so much more to running a successful website than just sales. Getting your site ranked high on search engines such as Google can also help your traffic.

It’s essential because many consumers will use their smartphones to research local businesses. You can also advertise on social networks such as Facebook.

Today, I’ll explain choosing the best web hosting for small businesses.
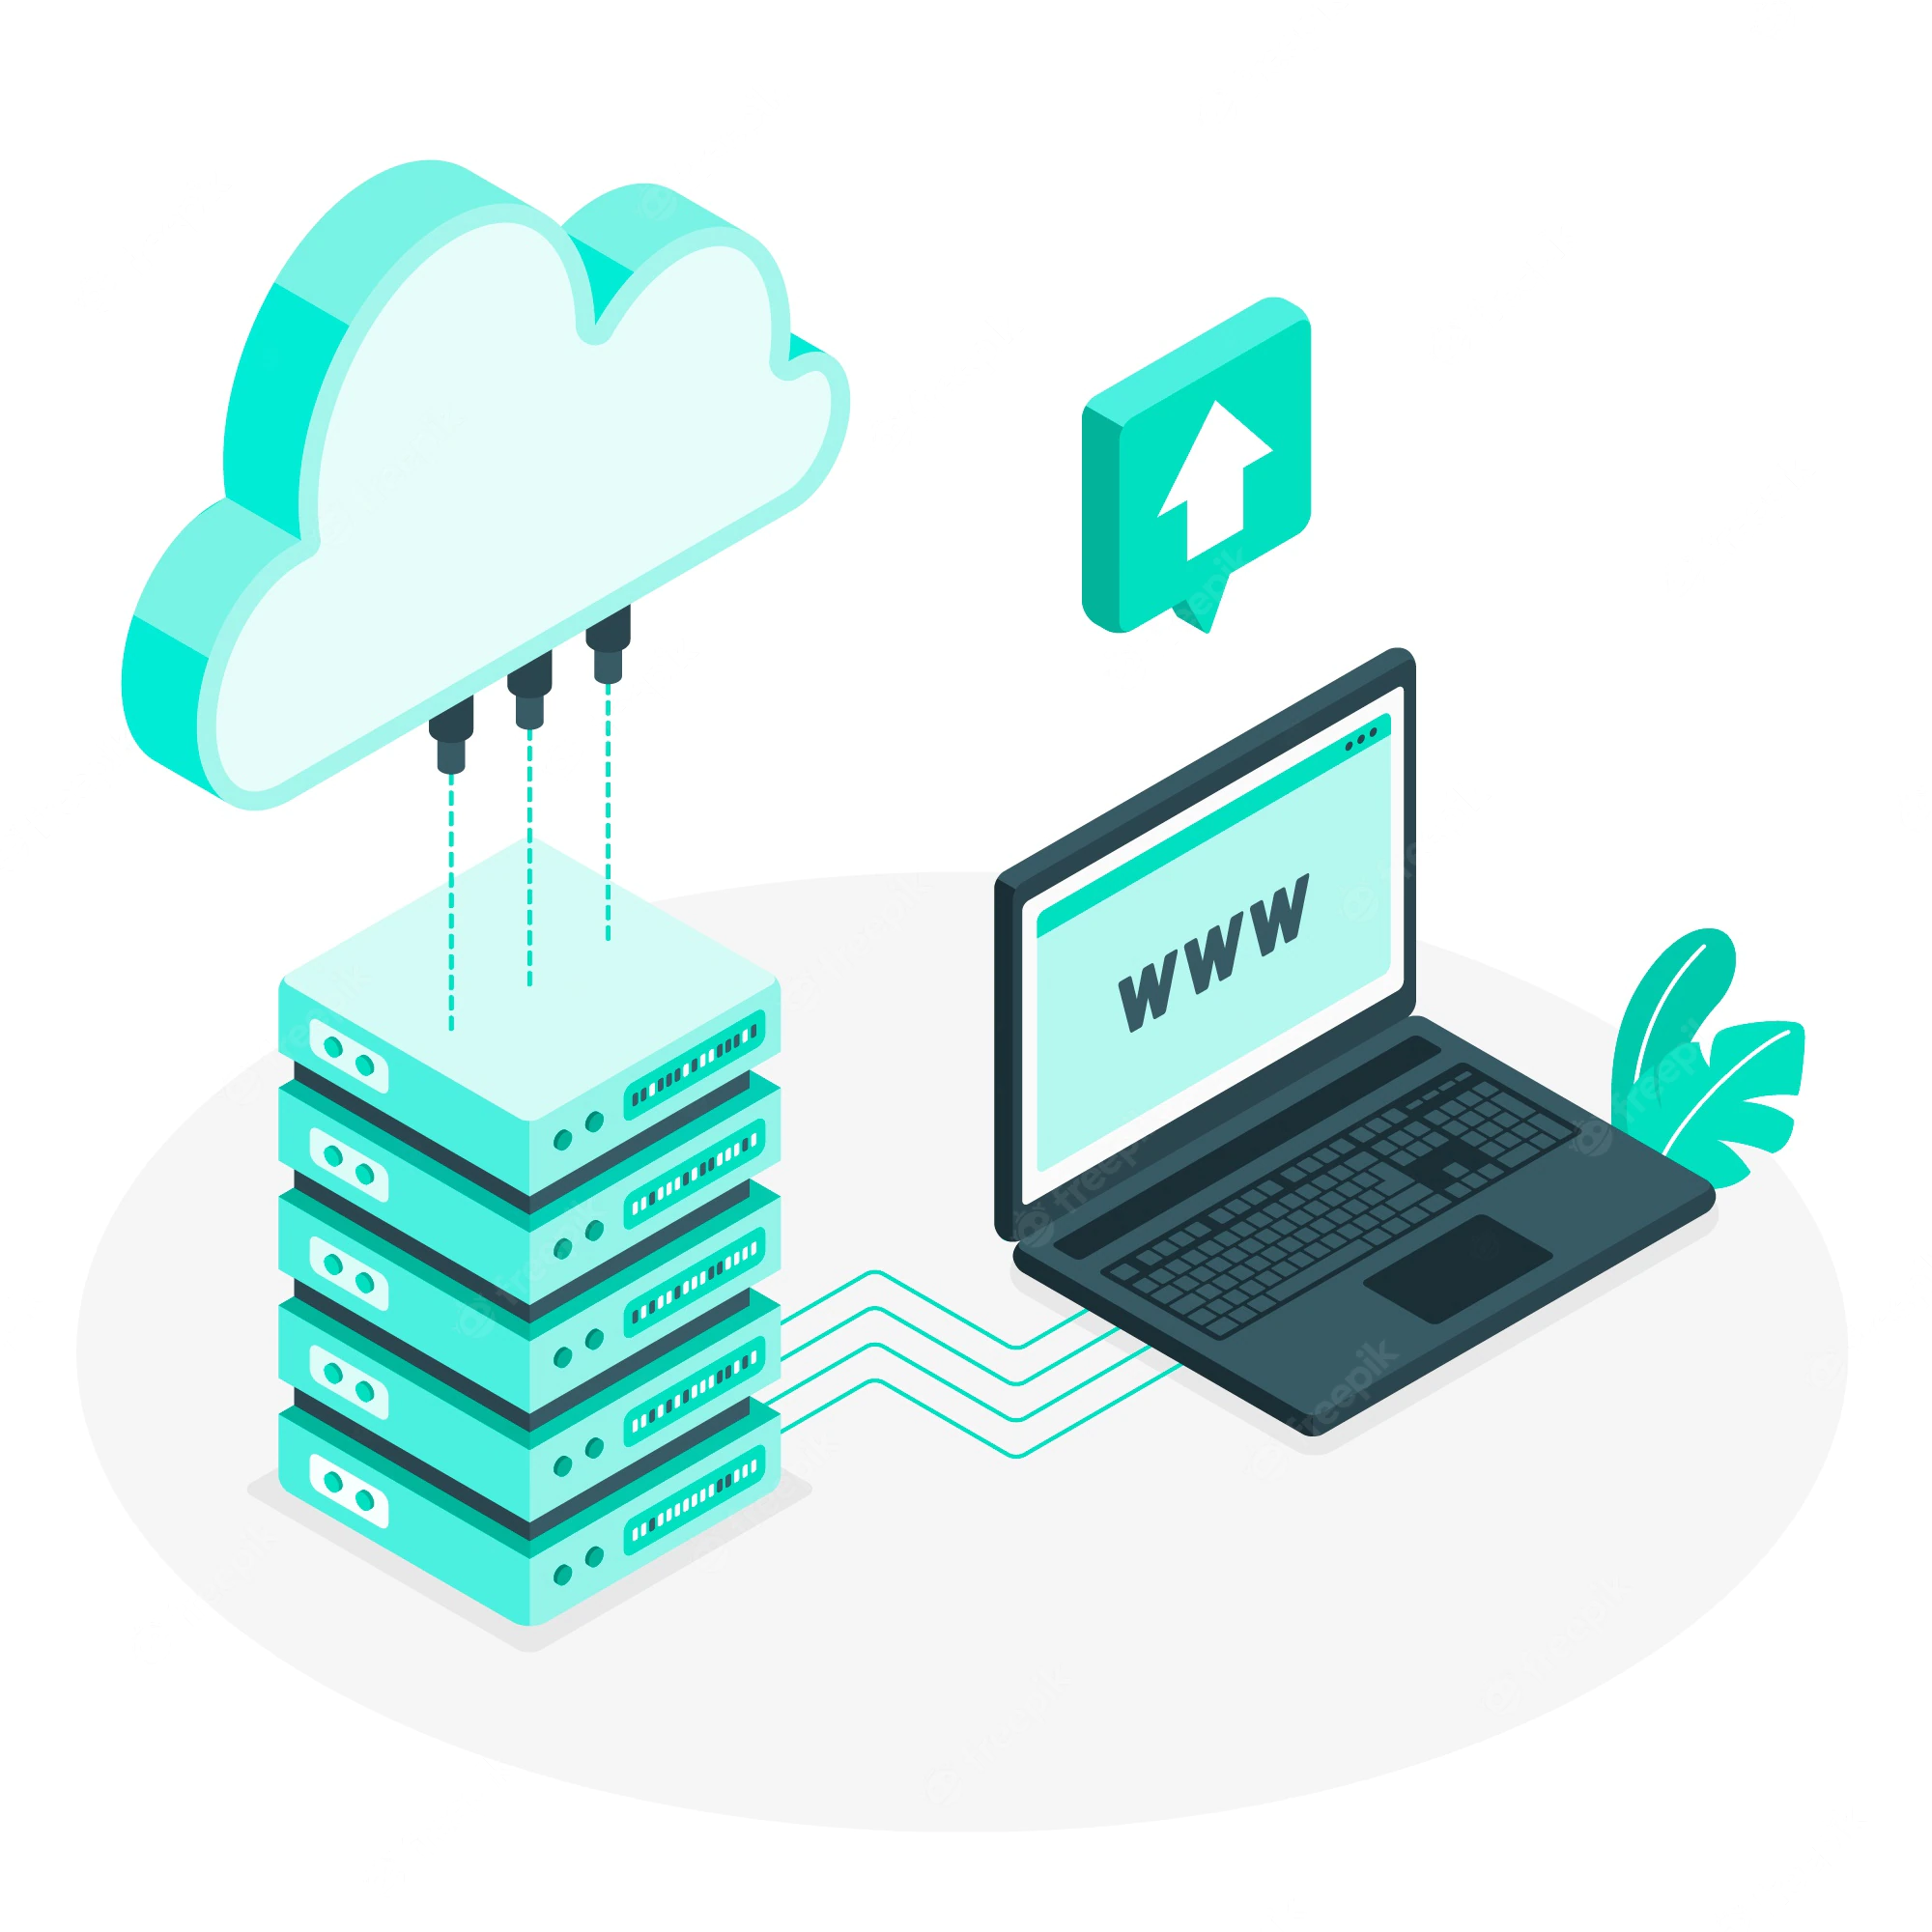
Web Hosting Terms

Web Hosting Terms

Hosting providers often use a lot of jargon, making it hard for people unfamiliar with hosting to understand. It cannot be evident even for experienced hosts.

Therefore, you must know some basic terms and how these will affect you.

➢ Uptime

Uptime is how often your site will be available for visitors. It’s usually measured in percentages, so if a web hosting provider claims 99.9% uptime, they mean that their service will be available almost 100 percent of the year.

If you want good results from your online marketing efforts, you must be able to rely on your site being up at all times. It would be best always to choose a reliable hosting provider with an excellent uptime guarantee.

➢ Bandwidth

Bandwidth refers to the amount of data and web traffic transferred between your website, users, and the Internet. The more data and web traffic your website consumes, the more bandwidth you require.

The importance of bandwidth varies depending on your website’s size. A smaller website may not require a large amount of bandwidth. But if you’re running a more significant website, you’ll likely need more bandwidth.

➢ Disk Space

Your website’s disk space refers to the amount of storage available for files on your website’s server. The larger your disk space, the more storage you have.

Disk space is essential for websites because it determines how much content you can store on your server. If you have a small site, you won’t need much disk space; however, if you have a tremendous website or upload many images/videos, you may need a lot of storage space.

➢ Domain Name

A domain name combines characters (usually alphabetic characters) and extensions. For instance, our domain name is MyWebMaintenance, and our extension is .com. Visitors need to enter this URL into their web browsers when they want to visit our website.

There are billions of websites; however, most good ones are already owned by someone else. Most web hosting companies will give you a free domain name or one for a low cost. Nonetheless, you cannot create a website without a domain name.

➢ Backups

Backups are copies of your website that can be restored in an emergency. For instance, If your website were hacked, you could use an online backup service to restore your website without waiting for repair services.

Backups are an essential part of any website. They can help you recover from mistakes and disasters. You should make regular backups of your website to restore them quickly if something goes wrong. A good host will offer automated backups for you automatically. But you should also back up your files manually too.

➢ Content Management System (CMS)

CMS software allows you to create, modify, and manage digital content. It’s the tool you’ll use to create your website.

There are several different content management systems (CMS) available for websites. Some of them are better than others. One of the best-known is WordPress.

Most web hosts will tell you which content management system (CMS) they support and may even provide custom servers designed explicitly for that CMS. However, if you pay more, you will see a performance improvement.

➢ Security

Website security refers to how secure your website is from attacks by hackers. It may be one of the most straightforward terms to understand in theory. However, “security” has multiple meanings for different hosting providers.

Some excellent ways to defend against attacks include firewalls, malware detectors, removal tools, DDOS protections, SSL protocols, general software protections on their equipment, and so forth.

However, just because these services exist doesn’t mean every hosting provider offers them for free. Or, at the least, charges extra for using them.

You need to carefully examine their web hosting services’ security features to ensure they’re protecting your website from damage.

Pick the Right Plan

Pick the Right Plan

You now know the basics of hosting, so you’re ready to start choosing a web host. However, there are lots of different options available.

Understanding how many resources your website needs is essential before you start building it. Many websites come with pre-built templates, but they may not be enough for your site. You might want to pay extra for additional resources.

There are usually three options for small businesses who want to host their websites online:

Shared Hosting

Shared Hosting is when a company rents out a specific amount of storage on a web host. It is ideal for small websites that won’t need a ton of bandwidth or storage space.

Related: Shared Vs. Managed WordPress Hosting: The Key Differences

VPS Hosting

A VPS (Virtual Private Server) allows you to lease your virtual server. It’s far more costly than Shared Hosting but suitable for big websites that get many visitors and consume lots of resources.

WordPress Hosting

These web servers are customized to run a particular CMS (in this instance, WordPress). Many types of WordPress Hostings are available, including shared and VPS.

Related: What Is Website Hosting And Management? Multiple Web Plans

➢ Dedicated Server Hosting

Dedicate means “to dedicate something to someone else.” Dedicated Hosting is when you lease an entire server dedicated to yourself and no one else. Unlike a VPS (which still technically shares its resource with others), a dedicated server is entirely owned by you.

Examine the Pricing Plans Carefully

Choosing a hosting web service that meets your needs is essential, but the cost is just as high.

Web hosting costs are comparable to renting business spaces. They’re usually quite affordable, even if you don’t require a lot of resources.

However, the cost isn’t always clear-cut. Some hosts may be less expensive but may not provide the same support, security, uptime, or overall performance as their competitors.

As long as the site reflects your business, you must ensure it works well. Therefore, don’t just choose the cheapest option.

You can check My Web Maintenance Hosting Pricing Plans

Consider the Environmental Impact

Consider the Environmental Impact

If you’re starting a new business in 2022, you might want to consider its environmental impacts. Web hosts have an emissions problem.

Web servers consume much energy to run 24/7, up to 99.9%. This includes the electricity needed to operate the servers, the server room’s cost, the cooling systems used, and more.

However, there are many alternatives to consider when choosing a web host. At MyWebMaintenence, we calculate the power we use carefully.

Once the calculation has been completed, we buy three times that amount of wind power and send it to the electricity network. This means the more wind power we use, the cleaner our electricity becomes.

Your Website Reflects Your Business

Your Website Reflects Your Business

If you already run a small business, you know the importance of having an attractive storefront.

If you’re looking to go out for dinner, would you instead go to a restaurant that looks clean and well-maintained? Probably yes, and websites are no different. People will notice how quickly it takes to load, how nice it looks, and how easy it is for visitors to use.

If they don’t enjoy your website, chances are they won’t be visiting your physical location either. So, choosing a good web host is essential because it will affect your website’s overall success.

Get Started Today With My Web Maintenance

We’d be happy to discuss our services if you’re looking for web hosting providers to help you provide web hosting & expert management for thousands of WordPress websites. Contact us now for web hosting services and to see how you can get started.

You Might Also Enjoy

Managing websites with WordPress

We’re going to set up WordPress to be more suitable for use as a Content Management System. Just before our experts get going, our experts should perhaps inquire what we mean by this WordPress. As many people know, it started life as a piece of software built for blogging, indicating that it was made to do what blogs do – writing and editing posts, commenting, etc.

Over time, however, WordPress has grown and changed a lot, including the fact that it now supports various features. It currently supports numerous features, making it less of a pure blogging platform and more of a tool to create websites with rich content and complex content.

Types WordPress can also be used to publish content multiple times. This means that you can write a piece of content once and then display it in different places without duplicating it, saving time and energy for website editors and making WordPress more CMS-like.

Some Approaches And Methods

There are some approaches and methods that may be put to use – and those are what we’ll concentrate on in this blog post – we’ll start with a brand new WordPress installation. We’re not going to go through the steps leading up to this point. There are many blogs that we’ll discuss how to do that, but we’re at the stage where we’ve run a new installation, and we’re just going to log in now that we’re looking at the dashboard.

Well, first of all, make a few simple adjustments before we get into the details, a little bit more standard, WordPress is installed with a sample post and a sample page, the first thing we’re going likely to do is to get rid of those, while we’re in the pages section, we’ll create two new pages later.

You may need to change or remove them depending on your particular site, but you will need them 99% of the time. So it’s worth doing this now, so first we’ll create a home page by clicking “Add New Page” and calling it “Home” to publish it immediately, and then we’ll add a page called “News,” which we’ll also post in the “Edit Page” screen.

You may have noticed that WordPress displays this box, suggesting that we change the permalinks. This is a good idea because the default setting, which consists of a question mark and a number, is not very user-friendly for either users or Google, which we’re going to change now.

You can either click on this “Change, Permalinks” box here, or you can go to “Settings, Permalinks” and do it there. We’ll choose the month and the name “Save Changes,” and that’s done, now we’re going to point WordPress to the two pages that we created.

We’re going to do that in Settings and Reading, so we’re going to select a static page. It’s going to be the one we created called Home, and our posts page, the one called News, and we’re going to click Save.

So what have we done here? For a blog, you would typically have the list of posts as the home page here. Since we’re thinking of a website with a separate home page on the News page, we’ll tell WordPress to show a static page for the home page and have a separate page that lists the blog or news articles again change that later.

If needed, we take a quick look at the front end to check. Here is our website and you will see. We have a home page and a news page, although obviously, we don’t have any posts yet. You may have noticed about the home page because we have a comment box displayed here at the bottom of the pages for some pages.

That may be what you want, but for the vast majority, it’s likely that you’ll only want comments on posts or news articles and not on the pages themselves, and it’s worth it because now we’re going to populate our site with pages. It makes sense to turn off the comments feature by default, build it outside, and then turn it back on later for new posts.

So let’s go back to our dashboard. We’ll do this in the settings discussion, and then there’s a box here that says: permit individuals to submit comments on brand new posts. 

Therefore we’ll disable that scroll down click save changes now that we’ve disabled, that any new pages that we create won’t have the comments box on them. Still, the two pages that we’ve already created also, so we’ll just quickly change that to go into pages all pages, and we’ll use the quick edit option here, and we’ll disable that.

Allow comments on each of the pages that we created. We’re going to go back to the front end and refresh it, and you’ll see that the comments box is gone.

WordPress Themes

Now we’re ready to go into a little bit of detail. Before we do that, we need to familiarize ourselves with two essential concepts in WordPress. The first of these is a WordPress theme. This is the web. The description of a theme is the analogy of a car. If the core WordPress software is the engine and transmission, then the theme is the body and exterior. WordPress themes are widely available.

If you do a Google, you will certainly find hunt thousand. Some are free, some are paid, or you can create your theme from scratch. A quick word of caution here, it’s generally best to stick to trusted sources for WordPress themes, as some infamous sites offer free themes with a Nasty Virus.

An excellent place to look is the official WordPress theme directory. All of these themes have been checked and vetted, so let’s go here to Appear Themes and go to Install Themes at the top.

This search here will go away and use the official directory. So if we try, this will return all the themes in the WordPress directory that match the keywords, and you can see the variety of themes displayed here. We’ll select one of them: Randomly click install, it will take a minute to download, and then we will activate it.

This theme immediately goes to the front-end of our website, and when we refresh, you’ll immediately see that this rather flashy but very different theme is active. If we go back to our 2020 theme, which is our original one, and activate it, a refresh will come back to the live site, and you’ll see that we’re back to where we were. Themes can also make WordPress work differently.

The WordPress core software is not changed and should not be changed. Themes can change the front-end functionality or the way the dashboard looks and works. The beauty of WordPress themes is that they are, or should be, self-contained in terms of all the CSS.

All of the individual files that make up part of the website are in the themes folder – let’s take a quick look at that now, so let’s go over and look at our WordPress Directory

Here, inside of WP Content, you’ll see a themes folder, and inside of that are the themes that are available to us, the one that we just downloaded child’s play is all in this directory. This is where we covered the basics of themes.

Templates

Let’s talk about templates, so what is a template? Well, think of it as another layout. For example, a simple site might have a homepage template where the content takes up the entire width of the page or a subpage template that has a navigation bar on one page, or a gallery template to showcase projects or products, and so on.

We’re not going to worry about what our templates look like today, but we will look at a powerful way to use WordPress to populate different templates with different content in WordPress

Templates are primarily individual files within our theme, folder and once you’ve added a template and given it, some code tells WordPress that this is a template. This blog post will create templates using the default 2020 WordPress theme, but I will follow best practices by doing what I call a child theme.

To avoid any 2020 updates overwriting the changes I make, the child theme is not covered in this blog, but again, you can find lots of information on the web on how to do this. So first, I’m going to select my child theme under Appearance Themes.

So that’s this one that I created earlier, and I click activate. If we go back to the front-end, you’ll notice that absolutely nothing has changed. All I’ve done is tell WordPress to use the same theme as before.

Only now can I safely make some changes to it without overwriting it with your text or code editor, opens your theme folder, and creates a new file there. It can have any name as long as it doesn’t conflict with any of the WordPress files.

Now we will tell WordPress that this is a template file. To do this, we’ll paste the following code above and also paste the default, header, and footer sidebar code. Our next step is to use the custom fields built into WordPress.

These have been part of WordPress for some time and allow developers to add additional content to any page or post. The problem has been that these are not as user-friendly as they could be. Until today, it was not configurable on a per-template basis, which meant that if you created a custom field on one page, it was visible on all of your pages. 

We will install a powerful plugin called advanced custom fields that will allow us to display fields on a per-template basis to help us with that. It still uses WordPress‘s native custom fields but overlays a user-friendly interface on top of them. It’s a free plugin, but there are options to expand the field types by paying for premium fields.

After installing and activate the plugin, you will undoubtedly see the Custom Fields option here in the left menu, so let’s go to Custom Fields. We’re going to add a new field group and call it Personal Details.

Now we’re going to add three fields: a biofield, which we’re going to make into a WYSIWYG field, a job title field, which we’re going to leave as plain text, and a mugshot as well, this one we’re going to make into an image, and now here’s the perfect thing about the advanced custom fields, which is that you can display these fields depending on a variety of conditions in this field.

Here you may decide to show or even conceal these fields depending on whether it’s a page or a post, whether it’s part of a specific post category or post type, and so on. We’re interested in now showing these fields only when users are editing a page that uses the Staff Details template. To do that, we’ll select “Page Template is the same” and then our Staff Detail Template. 

Before we leave this screen, we’ll also scroll down and check the box next to “Hide on screen” to get rid of our default WordPress “What you see is what you get” field later. You’ll find that you’ll want to do this depending on your particular scenario. Still, we’re going to hide it, for now, so we’re going to click “Publish” and create a new staff member, so we’re going to go to “Pages,” “Add New.” This time we’re going to select “Staff Details” from our template dropdown on the right side here. 

You’ll notice that the edit page is dynamically refreshed when we do this and now shows the three fields we just created, so the biofield up here, a rich text field, a single line of text, and the job title, and our image field. So we’ll add “Jane Smith,” we’ll enter a bio, we’ll enter a job title, and we’ll select an image, and then we’ll click publish, and the staff page on the front end of the website doesn’t show anything yet, but we’ll change that now.

First, we’re going to click back into our custom field, a space that we created, and we’re going to make a note of those field names. So we have Bio Job Underline Title, and Mugshot Advanced Custom Fields created as you go, but you can edit them if you need to. We’ll jump into the personals template and now go put in some code with those in mind.

Advanced custom fields provide some functions, but the ones you’ll use most often are the Get Underscore field and the Underscore field. The former gets the data from your specific field, and the latter displays it. The way you do this is entirely up to you and your programming preferences, but I’m going to fetch the data here at the top of the page and then display it a bit further down.

Now that I’ve got my code in, I’ll click save, go back to our staff page and update it, and it’ll display our three content items precisely as we expect. I have now added another Staff. Member page John Jones with various details filled in published it and you will see. 

As expected, we have the same template but different content populating that template. We’ve only looked at the basics here, but hopefully, you can see how we can now start to create blocks of content that can be assigned to specific templates.

Navigation Menu

This basic functionality can be extended in all sorts of ways. Finally, before we wrap up well, let’s take a look at the main navigation menu. WordPress supports two types of menus. The first automatically add items to the menu as pages are added, and that’s the type we’ve seen so far on our primary site. The second is more manual but allows editors much more control over what these menus display.

We will now use this second option to switch to these appearance menus, assuming our theme supporter can add and activate a custom menu. Choose a menu name, such as top navigation, create the men, select it for our primary menu, and click Save Now. If we go back to our site’s front-end and refresh again, you’ll see that nothing at all is displayed in our primary navigation. To change that, select the items you want, click Add to Menu, and drag and drop them into the order you want.

Enjoy the post? For More Posts Visit My Web Maintenance